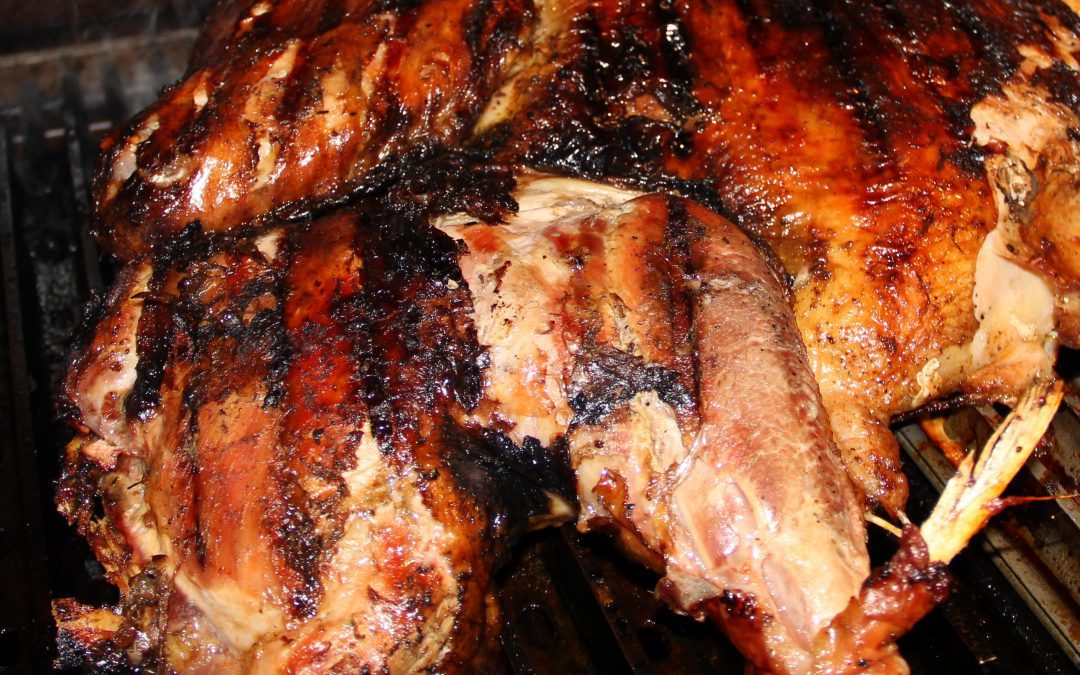
There always seems to be a lot of Thanksgiving angst about cooking turkey – worries about underdone parts, overdone parts, and the dreaded dry parts. We’ve seen a lot of recipes and cooking techniques – roasting versus frying, brine versus dry rub, etc. What most of the turkey recipes have in common is a lot of work, and a lot of remaining anxiety.
In our video series, we show you how to make tender, juicy, fast, and easy chicken every time by grilling under bricks (click HERE to see the video). The same technique can be used for turkey – and the results are just as consistent – and impressive.
The core of the technique is using a butcher’s cut called spatchcock – which is just a weird term which means butterflied turkey (removing the backbone and flattening the bird). The Serious Foodie video for chicken shows the method – and we also found this awesome YouTube video talking about the virtues of spatchcocked turkey, and shows a great version of the butchering technique:
With this technique, you can also toss out the brining step – your spatchcocked. brick grilled turkey will be moist and tender without it. You can use one of your favorite barbeque dry rubs, like we do at the Serious Foodie kitchens, which gives a nice flavor boost without all the fuss and mess of a big vat of brine liquid.
Here is the Serious Foodie recipe for the best Thanksgiving turkey you’ll ever have!
Directions
- Spatchcock the turkey, saving the backbone, keel bone, and wishbone for making stock. Size matters: keep to a 16 to 18 pound bird, which will fit on most grills. Otherwise, we would suggest that you use the roasting method shown on the above video.
- Gently loosen the skin on the front end of the turkey along each side of the breast. Pour in about 2 tablespoons of dry rub (we are using the Serious Foodie Kentucky Bourbon rub – click HERE to purchase) into each side, and massage so that the dry rub spreads evenly.
- Melt 4 tablespoons of butter, then add six tablespoons of extra virgin olive oil. Liberally coat the turkey, inside and outside, with the butter/oil mixture. Season the inside and outside with dry rub (or salt and pepper).
- Preheat the grill to 450 degrees. Immediately before putting your turkey onto the grill, put the center burner on low. Put the turkey in the center of the grill, skin side down. Place aluminum foil-covered bricks over the turkey, and cover the grill. Reset the temperature to 450 degrees using the end burners only – this will prevent flare-ups (we also use the GrillGrate product which completely eliminates flare-ups).
- After one hour, open the grill and remove the bricks. Now here’s the hard part: carefully release the turkey from the grill, using a large spatula (or several spatulas). Slide the turkey onto a cutting board, then flip the turkey back onto the grill, skin side up.
- Baste the turkey with the remaining butter/oil mixture. Cover the grill, and wait 15 minutes. This is the time to also use a grill sauce – our favorite for turkey is the Serious Foodie Pomegranate Sauce (click HERE to purchase).
- Check the temperature in several spots (breast, thigh) – the turkey will be ready when the temperature reads between 160 and 165 degrees (there will be about a 10 degree increase in temperature when it is removed from the grill).
- Remove from the grill, and cover with aluminum foil for at least 10 minutes before carving.


